Hot Keywords:
- All
- Product Name
- Product Keyword
- Product Model
- Product Summary
- Product Description
- Multi Field Search
Views: 2 Author: Site Editor Publish Time: 2024-08-20 Origin: Site
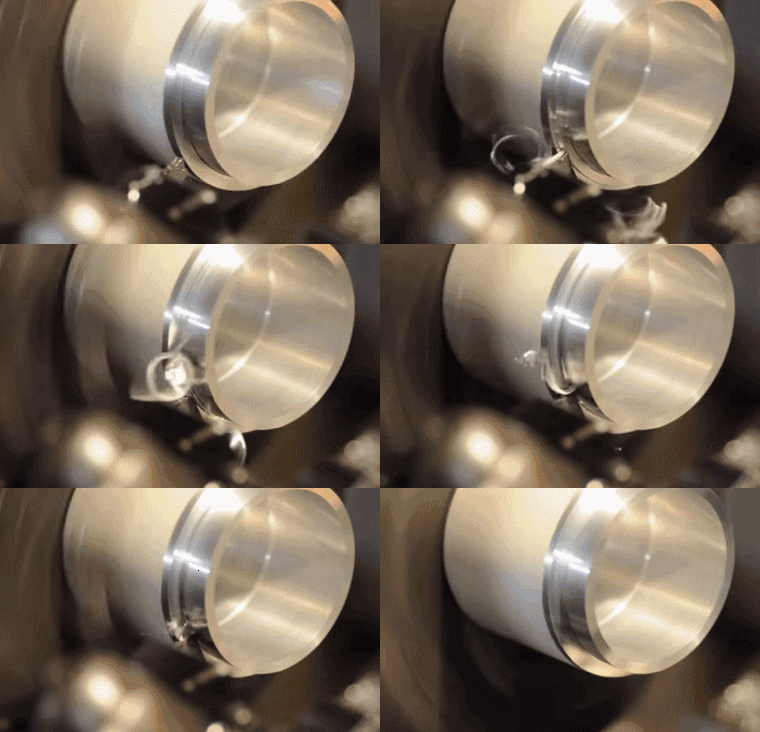
The workpiece rotates and the cutting tool moves in a straight or curved line in a plane during cutting. Turning is generally performed on a lathe to machine the inner and outer cylindrical surfaces, end faces, conical surfaces, forming surfaces, and threads of workpieces.
The machining accuracy of turning is generally IT8~IT7, and the surface roughness is 1.6~0.8 μ m.
1) Coarse turning strives to improve turning efficiency by using large cutting depths and feed rates without reducing cutting speed, but the machining accuracy can only reach IT11, with a surface roughness of Ra20~10 μ m.
2) Semi precision and precision machining should use high-speed and smaller feed rates and cutting depths as much as possible, with machining accuracy of IT10~IT7 and surface roughness of Ra10~0.16 μ m.
3) High speed precision machining of non-ferrous metal parts using finely polished diamond turning tools on high-precision lathes can achieve machining accuracy of IT7~IT5 and surface roughness of Ra0.04~0.01 μ m. This type of turning is called "mirror turning".
